Das Filter Blog
How to Backroll a Joint (Inside-Out), Step by Step
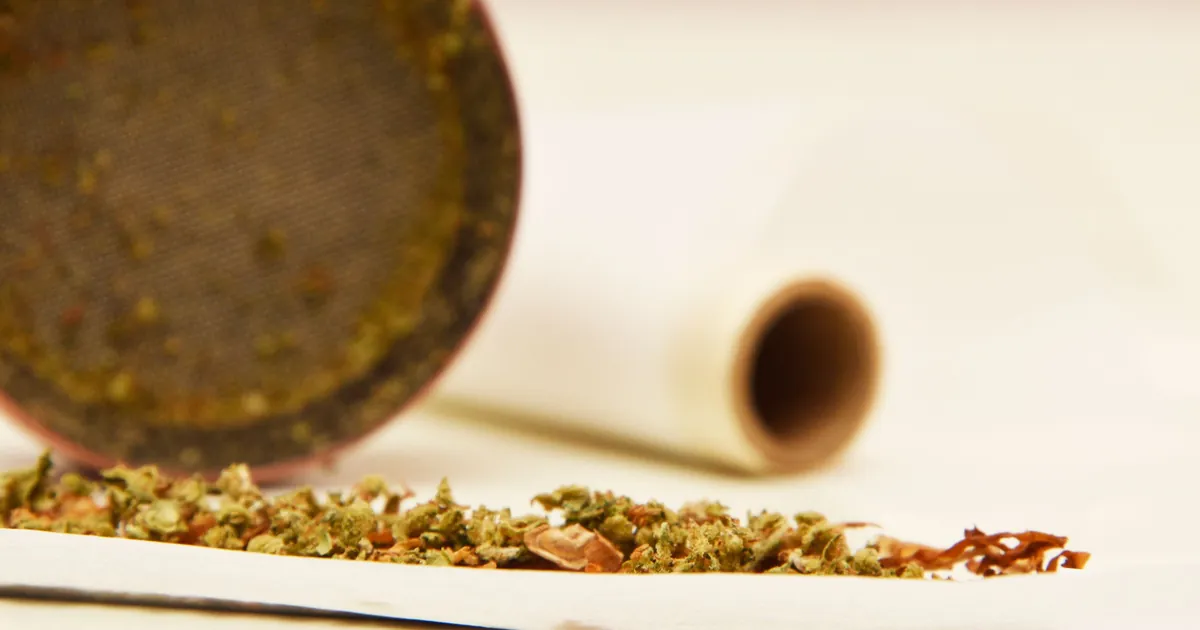
Quick answer: To backroll a joint, flip the rolling paper over so the glue strip faces down, on the edge closest to you. Fill and shape it as usual, tuck that glue edge under the flower, and roll the rest of the paper around it. Lick the outside of the joint along the line where the glue shows through, press it shut, then tear off the extra flap of paper along the seal. You're left with about one layer of paper instead of an overlap.
This is a step up from a regular joint. If you haven't rolled one yet, start with how to roll a joint.
What is a backrolled joint?
A regular joint seals with the glue strip on the outside, so the paper overlaps itself along the seam. A backrolled joint is rolled with the paper flipped, so the glue ends up inside. After sealing, you tear off the extra paper, leaving about a single layer.
People backroll to smoke less paper. Some say they taste less paper too.
What you need
- Thin rolling papers. You need to see the glue strip through the paper. Any size works; 1 1/4 is a good one to learn on. See best rolling papers for how paper materials differ in thickness.
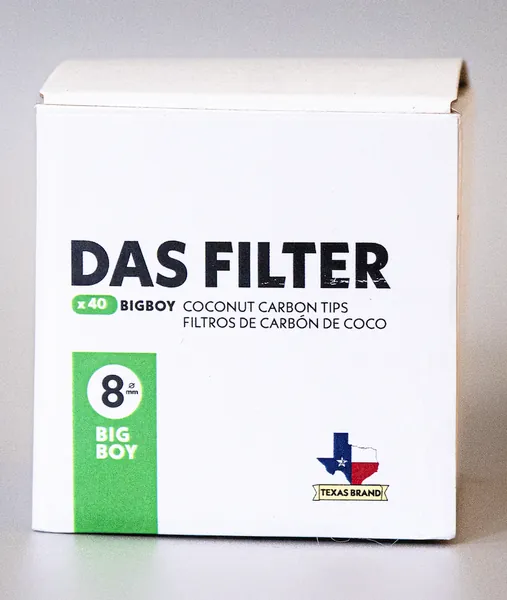
- A filter tip. Optional, but it gives you something firm to tuck around and something to hold. A longer tip is easier to hold onto; the Big Boy is 8mm x 37mm. Sizing is in the filter tip size guide.
- Ground flower, medium grind.
- A tray.
Step 1: Flip the paper
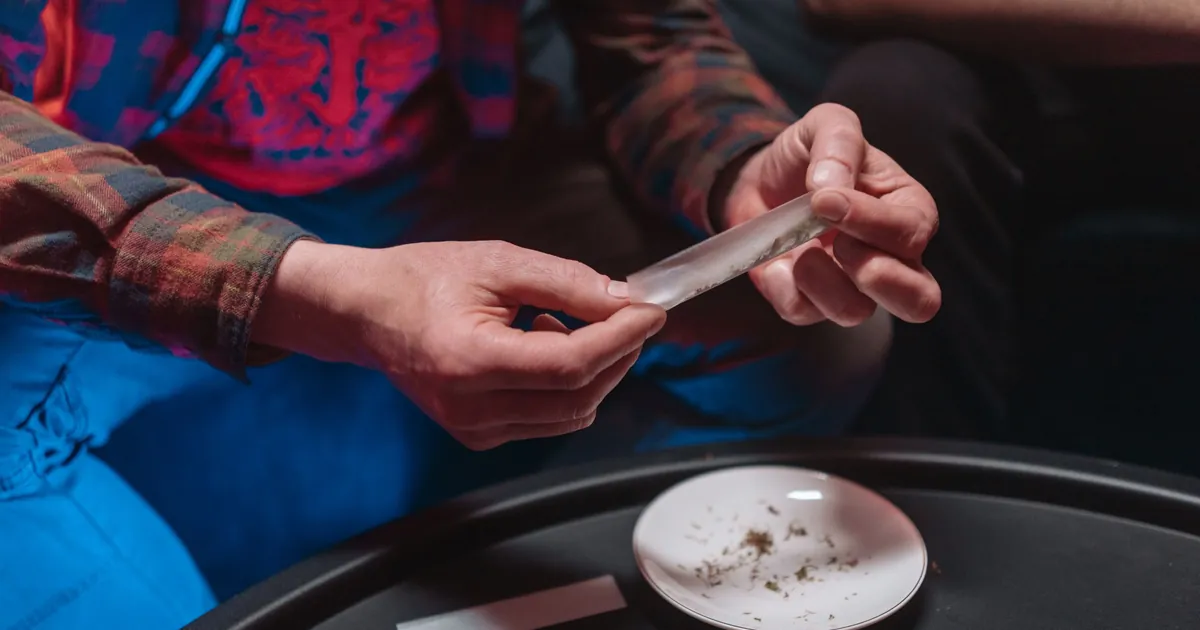
Normally you hold the paper with the glue strip facing up, along the far edge. For a backroll, turn the paper over toward you. The glue strip now faces down, along the edge closest to you.
Why this works: the side of the paper facing the tray ends up on the outside of the roll. With the glue on that side and on the first edge you tuck, the glue faces outward on the first wrap and gets covered by the rest of the paper. That puts it inside the joint, under one layer, where you can wet it through the paper. If another guide tells you to tuck the other edge, check which way its paper started. What matters is that the glue edge goes in first, glue side down.
Step 2: Set the tip and fill
Put the tip in the crease at one end. Spread flower evenly from the tip to the far end. Go a bit lighter than usual while you learn; a smaller roll is easier to wrap tight.
Step 3: Shape it
Roll the paper back and forth between your thumbs and fingers until the flower forms a firm, even cylinder.
Step 4: Tuck the glue edge
Start at the tip. Tuck the near edge, the one with the glue, over the flower and under it. Work the tuck along the joint.
Step 5: Roll the rest around it
Keep rolling so the rest of the paper wraps around the tucked edge. Keep the paper tight; if it wrinkles, pull the loose end gently away from the tip.
Step 6: Lick through and seal
Look for the glue strip showing through the outer layer as a slightly darker or shinier line. Lick along that line on the outside of the joint, enough to soak through, and press it shut from the tip end out.
Step 7: Tear off the flap
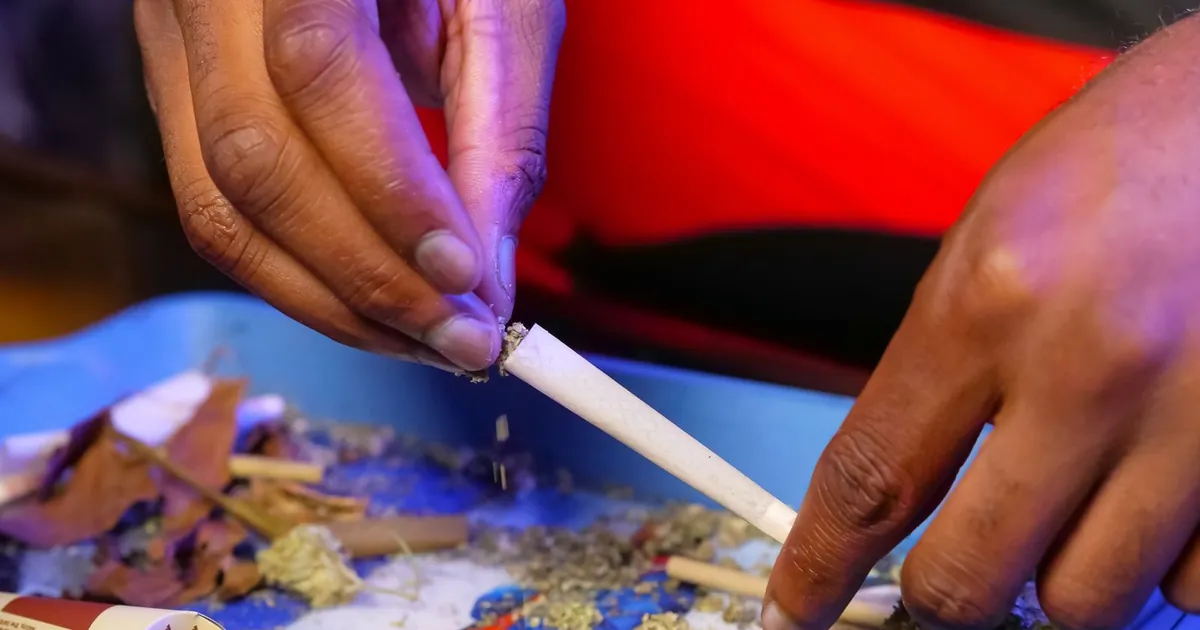
Let the seal set for a moment, then run a little moisture along the seam again. Starting at the tip end, lift the flap so it stands out from the joint, press two fingers on the joint right at the fold, and pull the flap gently so it tears along the fold. Go 1 to 2 centimeters at a time, moving your fingers along as you go. Big pulls tend to rip the joint. If it won't tear cleanly, wet the line again. Small scissors work too.
Step 8: Finish and light
Pack the open end lightly and twist it shut. Light it evenly while turning it. If it burns down one side, see why does my joint canoe.
Backroll vs regular joint
| Regular joint | Backrolled joint | |
|---|---|---|
| Glue strip | Outside the seam | Inside |
| Paper around the flower | Overlap along the seam | About one layer |
| Papers | Any | Thin |
| Difficulty | Beginner | Takes practice |
Should you burn the extra paper off?
Some people light the flap instead of tearing it, letting the flame run along the wet seam. It only stops at the seam if the seal is soaked all the way along. Anywhere it's dry, the flame can burn into the joint. Tearing is slower but much harder to get wrong.
Common problems
- You can't see the glue line. The paper is too thick. Use thinner paper.
- The paper wrinkles as you roll. Not enough tension. Pull the loose end of the paper gently away from the tip while you roll.
- The seal lifts when you tear. Not wet enough, or you tore too soon. Re-wet and tear smaller pieces.
- The joint rips. You pulled too much at once, or your fingers weren't right at the fold.
- The joint is loose. Shape it firmer before tucking, and fill a bit less.
Still getting the tuck itself down? Practice it on regular joints first; how to roll a joint with a filter tip shows the tip-first tuck that backrolling builds on.
Frequently asked questions
What does backrolling a joint do?
It leaves about one layer of paper around the flower instead of an overlap, so there's less paper to burn.
Is a backroll the same as an inside-out joint?
Yes. Backroll, inside-out and insi all mean the same roll.
What papers are best for backrolling?
Thin papers, so you can see the glue strip through the paper when it's time to seal.
Can you backroll with a filter tip?
Yes. A tip makes the tuck easier and gives you something to hold. A longer tip is easier to hold onto.
Should you burn off the extra paper?
You can, but it only stops at the seam if the seal is wet all the way along. Tearing it off in short pieces is safer for the joint.
Products are for adults 21+.